
Astrometry Desktop Palm Reading Software
₹6,999 lifetime access
Install in your browser for local calculations, offline reports, self-service transfers and future updates.
Installation and activation guideTwelve photos, one complete reading.
Six photos of each hand cover the full palm, close-up, little-finger edge, wrist, thumb and fingertips. Only a full-palm photo is required; add the others for a fuller record. The reading includes only features the photos can verify.
Reading system and age scale are recorded as preferences. They do not change unverified lines, mount relief or dated events into assessed findings.
Read first
Before you start
Photos 0/12
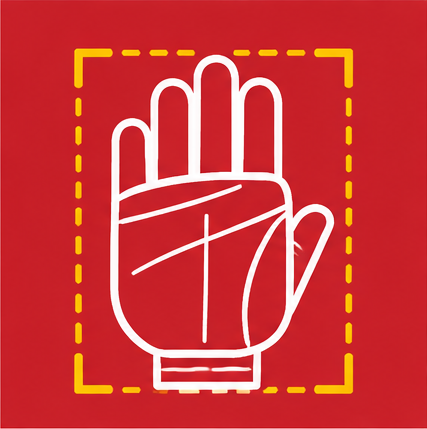
1. Full palm
Required for this handHand type, finger and thumb lengths, all major lines, mounts and the age scale.
- Palm facing the camera, fingers straight and slightly apart.
- Whole hand in the frame, from fingertips to the wrist creases.
- Thumb relaxed at its natural angle.
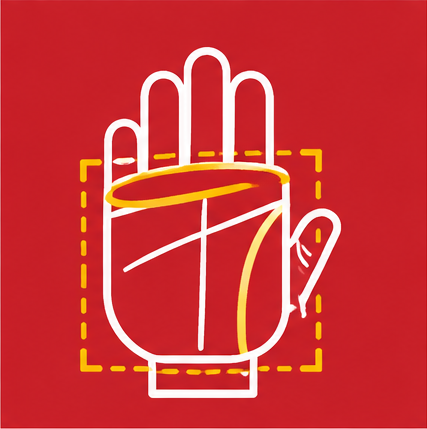
2. Palm close-up
OptionalFaint lines (fate, sun, Mercury), breaks, islands and timing marks.
- Move closer so the palm fills the screen.
- Keep the finger bases and the top wrist crease just inside the frame.
- Tilt the palm slightly toward the window light.
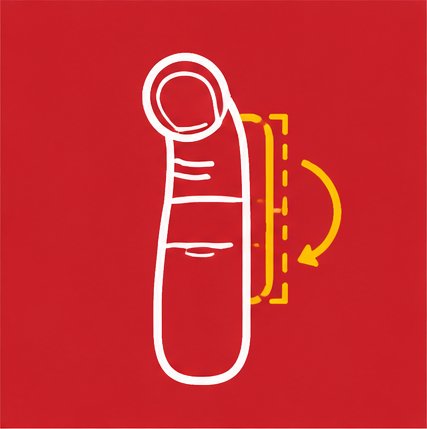
3. Little-finger edge
OptionalMarriage (union) lines, children lines and where the heart line begins.
- Turn the hand so the outer edge (below the little finger) faces the camera.
- Curl the fingers slightly — this deepens the small edge lines.
- Keep the little finger and the top of the palm edge in view.
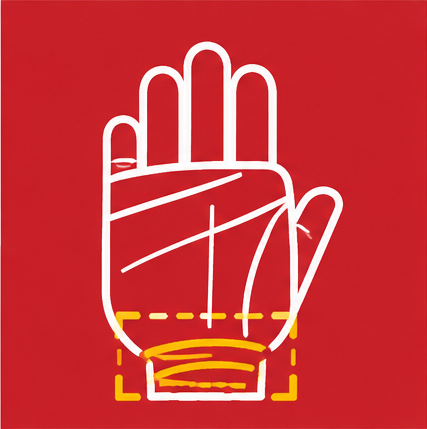
4. Wrist creases
OptionalBracelets (manibandh rekha): how many, and whether the first one arches.
- Palm up, bend the hand back very slightly.
- Bring the camera close so the wrist creases sit in the middle of the screen.
- Keep the lower palm and the finger bases in view so the hand can be recognised.
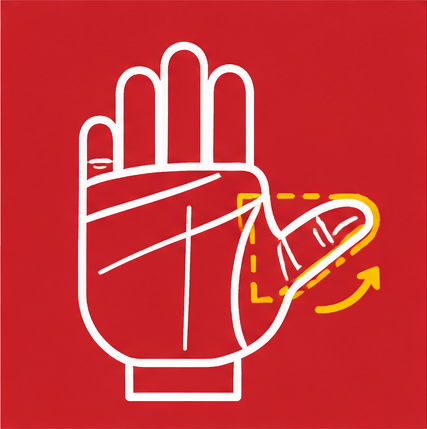
5. Thumb spread
OptionalThumb setting, thumb tip shape, will/logic phalanges and the yava mark.
- Palm facing the camera, stretch the thumb as far from the fingers as it goes.
- Move closer so the thumb is large in the frame.
- Keep the index finger in view.
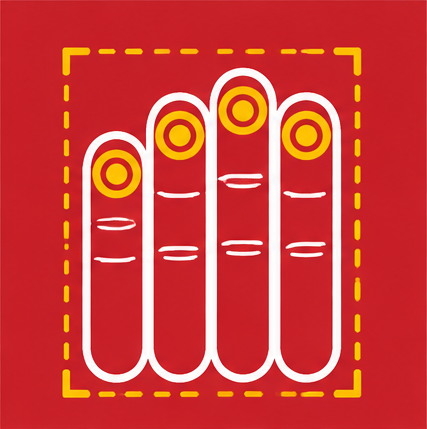
6. Fingertips
OptionalFingertip shape and fingerprint patterns — chakra (whorl) or shankh (loop).
- Palm side toward the camera, fingers straight and together.
- Move close so the four fingers fill the screen from the middle knuckles to the tips.
- Hold very still — fingerprints need the sharpest photo of all.
Quick touch check (optional)
A photograph cannot show how the hand feels. Answer only what you can check yourself.
Press the centre of the palm with your thumb. It feels…
Push the thumb tip backwards. The top joint…
Gently bend the fingers backwards. They…
Not ready to share your palm? Explore the tool with a sample image.
Private & Secure: Photos you select are processed locally; raw images are not permanently stored.
Frequently asked questions
What does the palm reading analyse?
The scanner measures hand and finger proportions from a full-palm photo. An optional sharp palm close-up lets it cross-check visible major creases against the first photo. It does not infer mount fullness or tiny marks from flat images.
Which hand should I scan?
For right-handed people the right palm shows the active, developed life and the left shows inherited potential; reverse this for left-handed people. Scanning the dominant hand first is the usual practice.
How should I photograph my palm?
Use bright, even light with no flash glare, hold the hand flat and fully open, and fill the frame with the palm from wrist to fingertips. The capture guide will tell you when the image is clear enough.
Can palm lines really predict lifespan?
No. The tool does not measure lifespan or draw health conclusions from the photo. Palmistry is a traditional practice for reflection, not a validated science.
What do I get at the end?
A free preview of measured proportions and any independently verified major lines; after unlocking, a structured rule-based report and downloadable PDF. Unverified lines, mounts and dated events are not invented.
Do I need birth details?
No. Birth date is optional and only used to show a traditional age-period description; it cannot establish a dated event from a photo.
Book Your Personal Consultation
Want a human reading of your Palm Reading results? Sit with our astrologers for private 1:1 guidance - your chart, your questions, clear remedies and a written summary you can act on.